
Solar Panel Installation Guide - Step By Step Process | 2024

Solar systems are made up of solar panels (modules), a mounting system, and a solar inverter with a computerized controller. Solar panels produce DC electricity from sunlight. Then the inverter converts the generated electricity into AC, so that it can be used in the household. The computerized controller manages the solar system and ensures optimal performance. If you want a battery backup system or an off-the-grid solar system, a battery is required.
Solar Panel Installation Process In India
Solar panels can be used to generate electricity for both commercial and home usage. The Photovoltaic Panel is installed on the rooftop to get maximum sunlight and generate leading electricity from the system.
Following are some of the steps that are involved in the procedure of Installation Of Solar Panel At Home:
Step 1: Gather solar power components
In the Solar Panel Process Step By Step, this is the first step where gathering the essential ingredients of a solar power unit is the primary step of the installation. Four significant items are required – solar panels, a charge controller, an inverter, and a battery pack. Along with these things, a requirement of a breaker, meter, MC4 connector, and fuses are also mandatory.
Step 2: Calculation of power load
Before installing the system, it is crucial to calculate the power usage. This is a relatively easy job to complete. To do so, note down the home appliances you use daily, which include television, lights, fan, and other things. Include the time for which these appliances run in a day. Please go through the specification chart for your household electric appliances to check their usage duration, run time, and power rating.
Now calculate the 'Watt-Hour' by multiplying the runtime of an appliance with its power rating. This calculation can be done by using an online off-grid load calculator.
Step 3: Select and charge the battery
Solar power does not facilitate electricity when the sun goes down. However, one can easily crack this problem by using a battery. A lead-acid or lithium-ion battery stores solar power generated during the daytime and discharges it at night. This helps facilitate a steady energy supply, providing optimum battery storage capacity. The user will also need a power controller to monitor the battery's charging. These come between the panels and the battery. Such controllers are typically fitted with a small LED light that tracks the charging state of the system and it adjusts the power that flows into the battery.
Step 4: Set up the inverter
The inverter is a device that saves the day by allowing you to use electrical devices without using adaptors. Solar arrays produce electricity in direct current (DC), but electrical appliances use alternating current (AC), which is converted by the inverter itself. Inverters come in varying power wattages and types, including square wave, modified sine-wave, and pure sine-wave inverters.
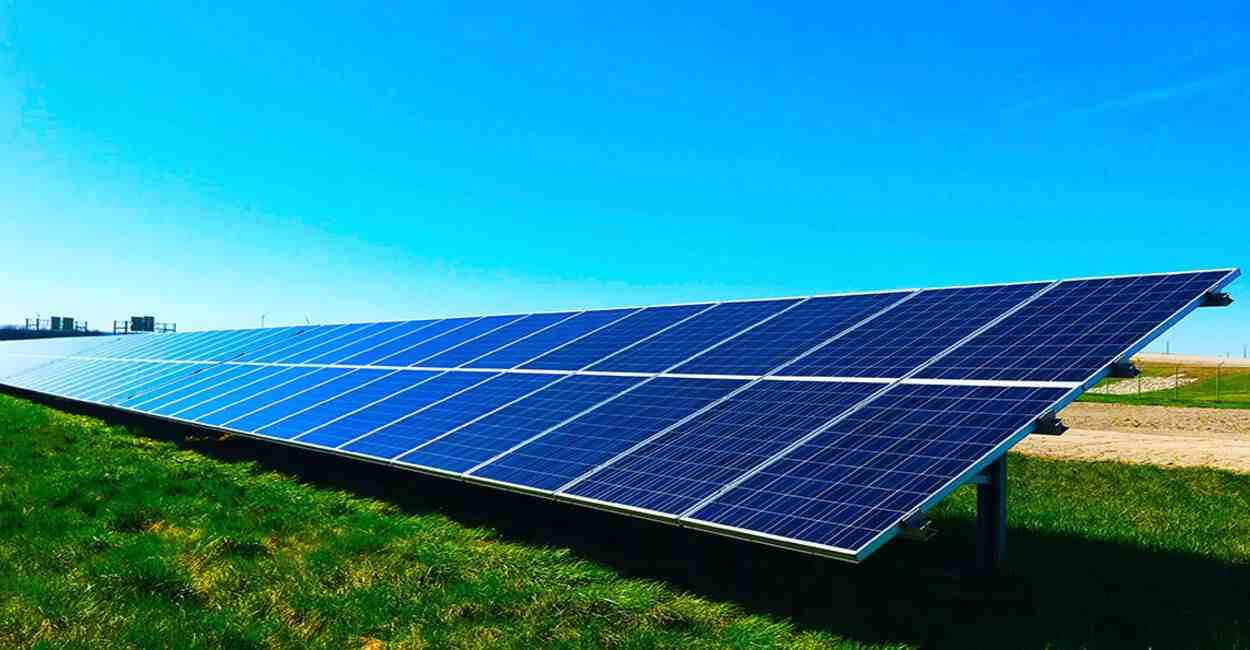
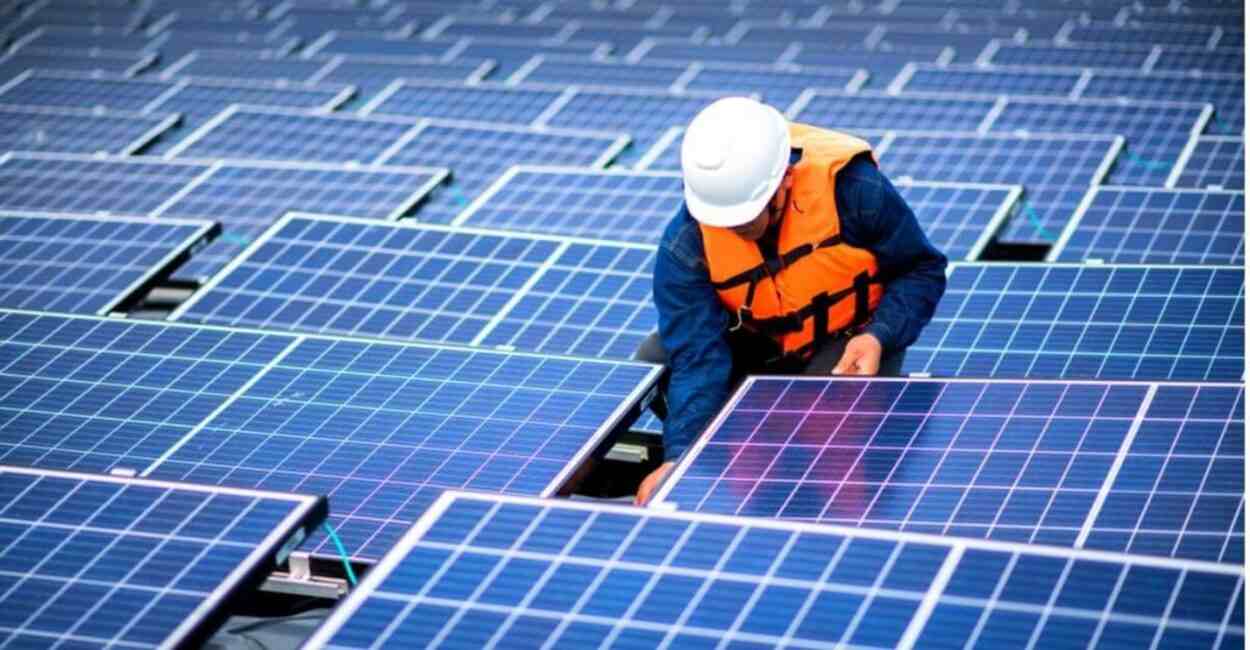
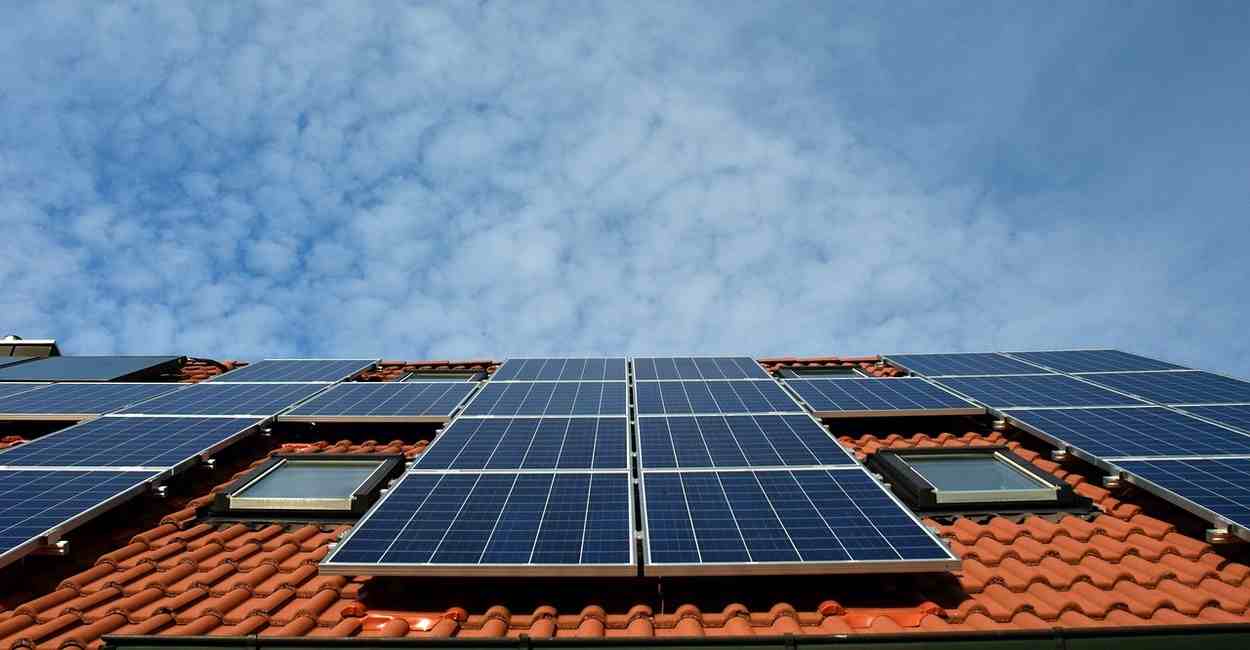
Step 5: Fix the solar panels on your roof
Once the battery, controller, and inverters are ready and installed correctly, you need to start mounting the solar panels. Select the best spot for the discussions on the roof or open ground that receives an unhindered supply of the sun's radiation. The mounting stand's tilt should almost equal the latitude angle of the solar system's location. The proper setting of the solar panels is critical for their operation & maintenance. Hence, it is essential to ensure that the boards face the sun throughout the day.
At last, wire the solar panels installation techniques. You can trace a small junction box at the back of the solar panel. The junction box has negative and positive signs of polarity. However, one will have to align the junction box with external wires. Use black and red wire for negative and positive terminal connections, respectively.
Step 6: Connect the solar panels to the battery
After all the respective tasks, connect the solar panels to the battery. In specific PV systems, these are paired together. One can also make a series connection by clicking a device's positive terminal with another device's negative terminal. For a parallel connection, you need to connect one device's negative terminal with another device's negative terminal.
Step 7: Setup stands for inverter and battery
The residential solar unit is complete with the available stands for the battery and inverter. Once the allocated positions for the inverter and battery are ready, one can start working on the wiring. Begin with wiring the controller. The first connection from the left connects the controller with the solar panels. The second connection is for pairing the battery with the controller. The last link connects the controller to the direct DC load connection.
Water ingress at the DC isolators can cause electrical faults that can damage the DC isolator, leading to electrical hazards on the roof. Use the proper installation techniques of solar and periodic solar panel maintenance.
One will need a separate connector called an MC4 connector for connecting the solar panel with the charge controller. Once the controller is connected to the battery, its LED lights should glow. Similarly, you must click the inverter terminal with the battery's terminal.
So, these are the Solar Power Installation Process, with which you would be able to generate electricity.
Materials Needed For Solar Panel Installation
The first generation of solar photovoltaic modules was made up of silicon with a crystalline structure, and silicon is still one of the widely used materials in solar photovoltaic technology. The research on silicon material is increasing at an incredible pace, mainly focusing on improving its efficiency and sustainability. Monocrystalline and multi-crystalline silicon are the two most basic types of crystalline silicon that are utilized in solar photovoltaics.
Monocrystalline silicon materials are used because of their higher efficiency when compared to multi-crystalline silicon materials. The benefits of multi-crystalline silicon materials says that they are less expensive, that is the reason why they are used by manufacturers for low-cost solar energy systems.
Amorphous silicon is a non-crystalline allotropic form of silicon that has been widely used in solar photovoltaics. It is one of the most commonly used thin-film technologies, but the disadvantage of this material is that it is susceptible to degradation. Amorphous silicon carbide, amorphous silicon germanium, microcrystalline silicon, and amorphous silicon nitride are some types of amorphous silicon used.
Cadmium and tellurium are also used to make the development of solar photovoltaics. They are considered the most effective thin-film material due to their ideal band gap of 1.45 eV and more extended stability. They are mixed in a specific ratio to develop cadmium telluride solar cells.
Compound semiconductor solar photovoltaics are made up of gallium and arsenide materials. They are similar to silicon cells but are more efficient and thinner than monocrystalline and multicrystalline silicon cells.
Aluminum, antimony, and lead are also used to manufacture solar photovoltaics to improve the energy bandgap. The improvement in the energy bandgap results from alloying silicon with aluminum, antimony, or lead and developing a multi-junction solar photovoltaic. For the further development of advanced solar photovoltaics, materials like copper, indium, gallium, and selenide are used.
Carbon nanotubes (CNT) are a type of nanomaterial used in solar photovoltaics. They are generally used to improve the properties of the solar. The application of CNT enables manufacturers to develop transparent conductor material. The CNT used in solar photovoltaics has a hexagonal lattice carbon structure and is also capable enough to convert up to 75% of solar energy into electrical energy.
Hybrid cell solar photovoltaics is developed by the combination of crystalline and non-crystalline silicon. Hybrid cells have higher efficiency compared to conventional solar cells. The manufacturing of the cell is complex.
Solar Panel Installation Government Scheme
India is blessed with abundant potential for solar energy with 300 days of sunlight. About 5,000 trillion kWh per year of energy is absorbed by the land of India, with most parts receiving 4-7 kWh per sq. m per day. The government of India has an objective to create solar schemes for using this renewable source of energy efficiently. Here we have mentioned a list of some of the most successful and known solar schemes in India –
Jawaharlal Nehru National Solar Mission (JNNSM)
The Jawaharlal Nehru National Solar Mission is popularly known as National Solar Mission. JNNSM is one of the eight key National missions comprising India's NAPCC. The objective of this solar scheme is to establish India as a global leader in the solar sector by creating policy conditions. The Mission has set the target of deploying around 20,000 MW of grid-connected solar power by 2022, which was revised to 1,00,000 MW by 2022 in June 2015.
Government Yojana: Solar Energy Subsidy Scheme
The Government Yojana made an explanation that a person is eligible for a subsidy if he has solar panels installed on the rooftop. The decision on the subsidy is made on the basis of the capacity of the solar power plant. Another benefit of the yojana is that people are able to cut down on their electricity bills, and the load on thermal power plants will be reduced, increasing power generation.
Development of Solar Park Scheme
MNRE has formed a scheme that has the objective of setting up solar parks in various states. Solar Park Scheme has a capacity above 500KW. The scheme proposes to offer financial support by the government to establish and facilitate the infrastructure necessary for setting up solar power plants. MNRE is executing a scheme for the development of at least 25 solar parks with a combined capacity of at least 20,000 MW.
UDAY Scheme
UDAY stands for Ujjwal Discom Assurance Yojna; this yojana was launched in November 2015 as a revival package for electricity distribution companies in India. The scheme was initiated by the Government of India with the idea of finding a permanent solution to the financial mess that the power distribution is making. The objective of the launch of the yojna is to reform the power sector, operational improvement, development in renewable energy, reduction of cost of generation of power, energy efficiency, and conservation.
SECI Scheme
The main objective of the SECI Scheme is to engage the development of large-scale and rooftop solar projects, channel the investment in the government sector, implement MNRE and VGF schemes, project management consultancy, and trading of solar power. SECI plays a major role in installing rooftop solar power plants. SECI Scheme has released tenders for 4307 MW of large-scale solar projects, of which 675 MW have been commissioned.
Conclusion
If you feel something is not functioning correctly with your system, contact your solar provider! Do not contact your regular electrician, they may not be up to date in relation to solar technology.